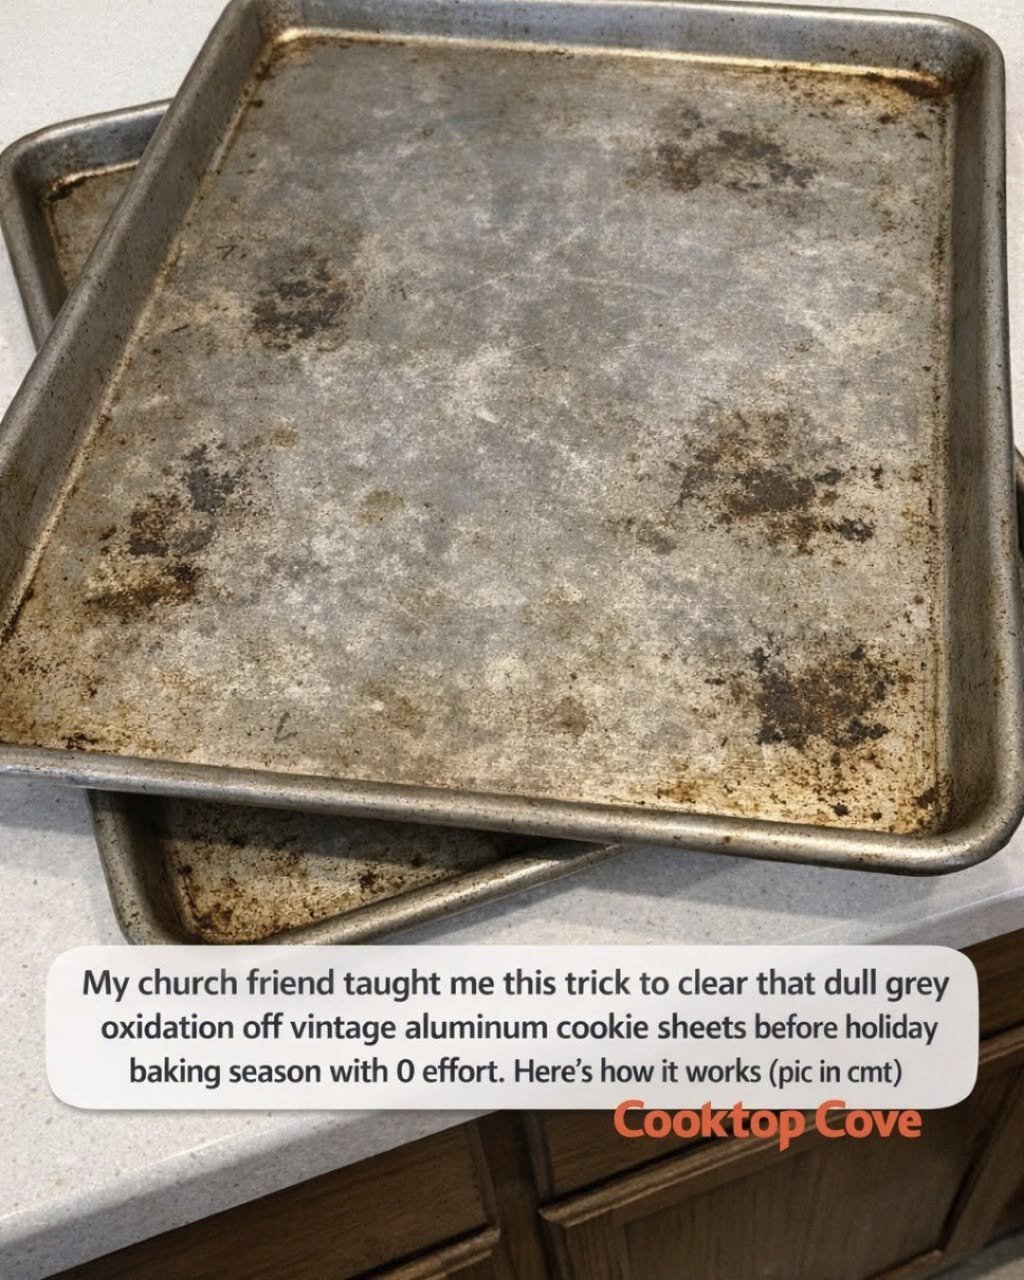
Every year, right before holiday baking season, I pull out my older aluminum cookie sheets and have the exact same thought: why do these look so tired when I know they still bake beautifully? Mine had that flat, dull, grey oxidation that makes a pan look permanently dirty, even after a good wash with hot water and dish soap.
I had pretty much accepted it as the price of keeping vintage bakeware around until a friend from church mentioned an easy trick she uses on her old aluminum trays before Christmas cookie week.
I tried it that same weekend, fully expecting another internet-style “miracle” that would turn into 30 minutes of scrubbing. It didn’t. The method is simple, inexpensive, and honestly about as close to zero effort as I’ve found for oxidized aluminum.
If your cookie sheets are solid aluminum and just look cloudy, grey, or chalky, this is the process I use now to brighten them up before I start baking sugar cookies, peanut butter blossoms, and sheet-pan shortbread.
1. What that dull grey film actually is
That grey, cloudy look on vintage aluminum is usually oxidation. Aluminum reacts with air and moisture over time and forms a thin oxidized layer on the surface. It is common on older cookie sheets, roasting pans, and aluminum cake pans, especially if they have been stored for years, run through the dishwasher, or washed with harsher detergents.
On my oldest sheet pan, the surface looked matte and uneven, almost like a dusty film had been rubbed into the metal. It wasn’t greasy, and it didn’t scrub off with a sponge.
That was my clue that I wasn’t dealing with baked-on food residue. I was dealing with oxidized aluminum, which needs an acid-based treatment more than brute-force scrubbing.
2. The “0 effort” trick: a soak with acidic water
The trick my friend shared was to use a very simple soak made from hot water and an acid, usually white vinegar or lemon juice. The acid helps dissolve and loosen the oxidized layer so you can wipe the pan clean instead of standing at the sink scrubbing for half an hour.
I’ve had the best luck with white vinegar because it is cheap, predictable, and already in my pantry. My basic ratio is 1 part white vinegar to 3 parts hot water if I’m soaking the pan in the sink or bathtub.
If I’m treating a standard half-sheet-size cookie pan, I usually use about 4 cups of white vinegar and 12 cups of very hot water, enough to cover the oxidized area.
3. What you need before you start
You do not need a long supply list. I use 1 vintage aluminum cookie sheet, 4 to 6 cups of white vinegar, enough hot water to submerge or cover the surface, 1 sink stopper or large plastic tub, 1 soft sponge or non-scratch scrubber, and 2 clean dish towels.
If the pan is too large for your sink, a bathtub works in a pinch, but I prefer a plastic storage tote or dishpan so I’m not wasting gallons of vinegar solution. If you only have bottled lemon juice, that also works.
In that case, I use roughly 2 cups lemon juice with 8 cups hot water for a smaller pan, because lemon juice is more expensive and I usually reserve it for lighter oxidation or spot treatment.
4. Make sure your pan is actually bare aluminum
see continuation on next page
For Complete Cooking STEPS Please Head On Over To Next Page Or Open button (>)

My mother used to make this, and it was delicious.

Why My Grandmother Always Puts a Nail in the Onion – A Surprising Old Trick!

Are your hydrangeas dying off fast? Most get this wrong. Here’s how to revive them

Why Raw Green Onions Can Carry Hidden Risks—and How to Eat Them Safely

Found this disgusting pulsating red blob in a stagnant puddle near the hose. It looks like a piece of raw meat or an anemone, but it’s made of hundreds of tiny threads waving in the water. It retracts