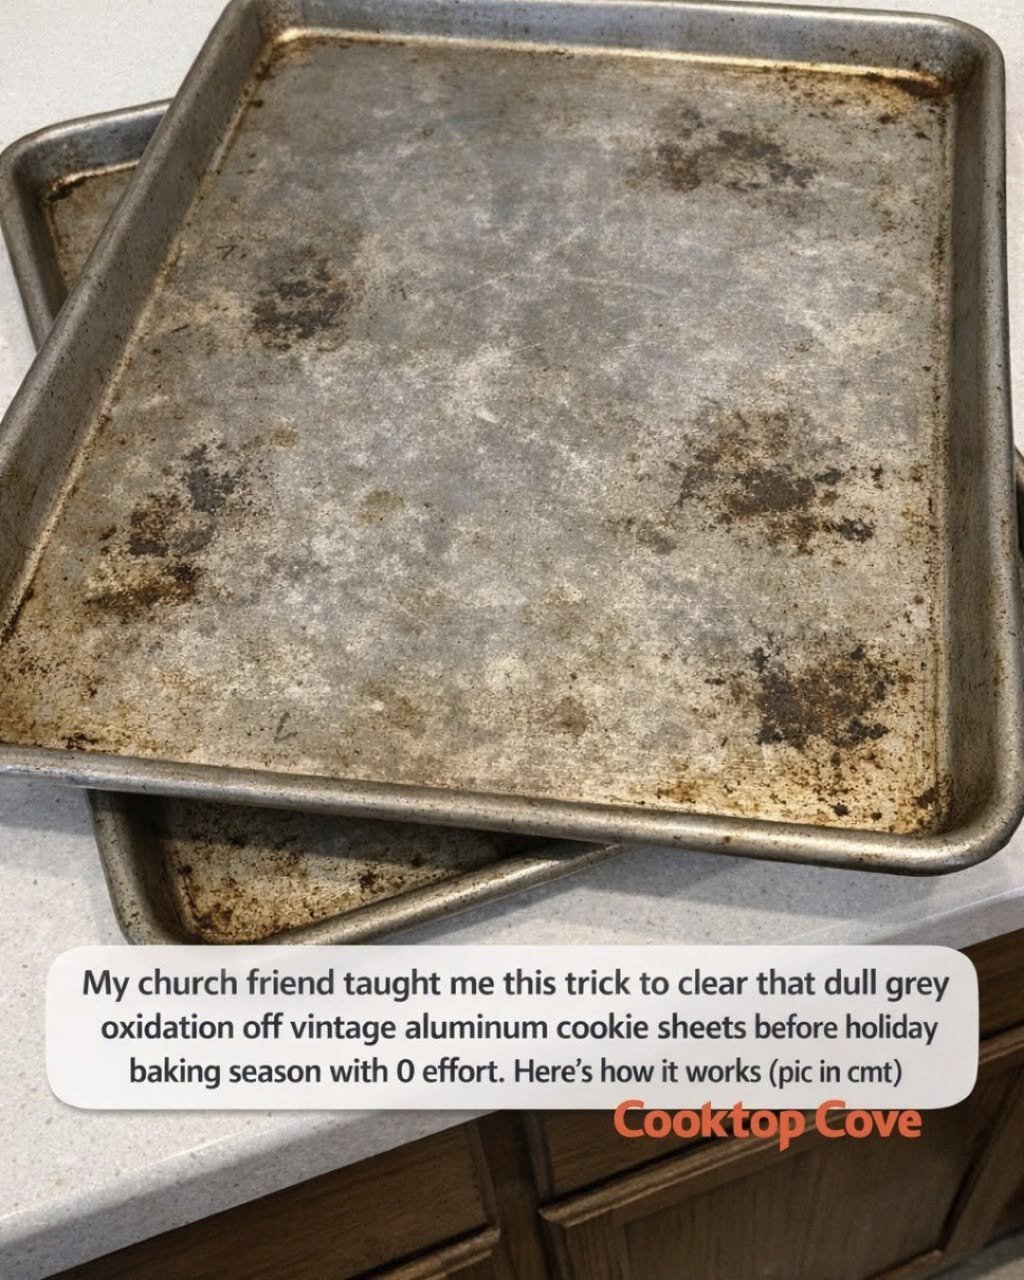
11. The difference between oxidation and baked-on stains
This is where a lot of people get frustrated. Oxidation looks flat, grey, and dull over broad areas. Burned-on residue tends to be brown, amber, or black and often feels raised or sticky in spots. The vinegar soak is excellent for oxidation, but it will not magically erase years of caramelized oil around the edges.
For baked-on grease, I usually sprinkle on baking soda, add a little hot water to form a loose paste, and let it sit for 15 minutes before gently scrubbing. I keep that separate from the oxidation treatment.
Once I started treating each problem for what it actually was, cleaning these pans got much easier.
12. How bright your pan should get
I think it helps to have realistic expectations. This trick can noticeably improve the look of oxidized aluminum, but it may not make a 40-year-old cookie sheet look factory-new. Mine ended up brighter, cleaner-looking, and more even in color, but they still had signs of age, including scratches, darker edges, and a few permanent marks.
Honestly, that is fine with me. I care more about getting rid of that lifeless grey haze than making vintage bakeware look untouched.
13. How I dry and store them to keep oxidation from returning quickly
After rinsing, I dry the pan immediately with a clean dish towel instead of letting it air-dry. Then I stand it upright for another 10 to 15 minutes on a drying rack so any moisture around the rolled edges can fully evaporate.
I store my cookie sheets in a dry cabinet with a thin cotton dish towel between stacked pans. That little towel helps absorb stray moisture and prevents rubbing.
Since I started drying them right away and keeping them out of the dishwasher, I’ve noticed the grey oxidation comes back much more slowly.
14. When to do this before holiday baking
I like to do this cleanup 1 to 2 weeks before I start my serious holiday baking. That gives me time to repeat the soak if needed and make sure the pans are fully rinsed, dried, and ready to go.
It also keeps me from dealing with pan cleanup on the same day I’m trying to bake 6 dozen sugar cookies after work.
In my house, the sweet spot is usually the first weekend of December. I’ll put on a podcast, clean up the pans in the afternoon, and feel oddly accomplished afterward. It is one of those tiny home tasks that makes the entire baking season run more smoothly.
15. Why I think this trick is worth keeping
I love any kitchen trick that saves elbow grease and keeps older tools in service. Vintage aluminum cookie sheets often bake more evenly than some newer pans, and I’d rather restore what I already own than replace it. This method costs just a few dollars in vinegar, takes about 30 to 45 minutes including soak time, and does not require specialty cleaners.
What I appreciate most is that it feels realistic for a busy week. I work full time, and I am not looking for another complicated project once the holidays ramp up.
If a simple vinegar soak can bring an old cookie sheet back from dull and gloomy to bright and usable, that is exactly the kind of low-effort win I will happily take every single December.
For Complete Cooking STEPS Please Head On Over To Next Page Or Open button (>)
These are the worst to clean as they are so high, but this hack is genius!

My mother used to make this, and it was delicious.

Why My Grandmother Always Puts a Nail in the Onion – A Surprising Old Trick!

Are your hydrangeas dying off fast? Most get this wrong. Here’s how to revive them

Why Raw Green Onions Can Carry Hidden Risks—and How to Eat Them Safely